Funny Ha-Ha

Bear’s new obsession is playing pranks. Much to my dismay, he used his allowance money to buy a book about pranks at the school book fair. If living with three guys wasn’t hard enough, living with an 8 year-old boy who is an aspiring practical joker has me on high alert.

And what does my husband do about it? He buys the kid a ring that squirts and a spring-loaded, fake bloody finger.

*insert long-suffering here*


Bock-Bock: A “Cooked Chicken” Tutorial

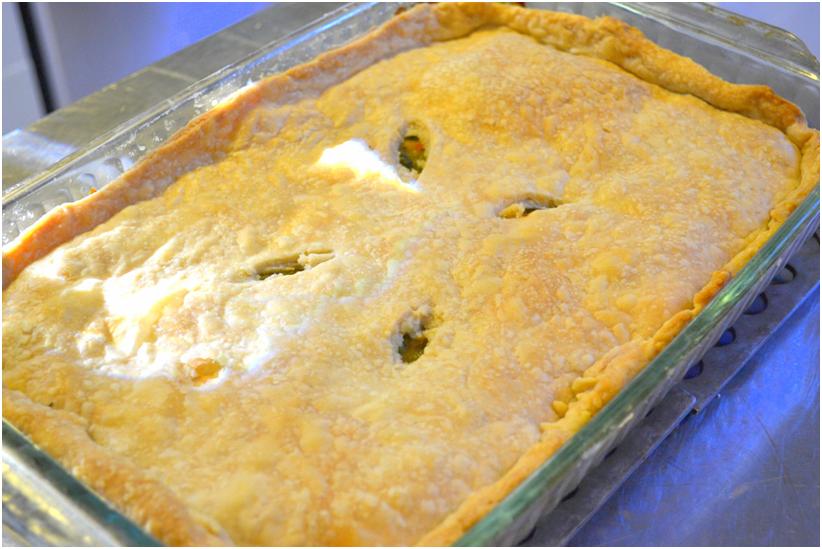
Last week, I posted this recipe, and like so many casserole-type dishes, it calls for the ubiquitous “cooked chicken.” Over the years, I’ve learned that “cooked chicken” can either be flavorful and tender, or a dried out, tasteless mess depending on how you prepare it. I used to cut far too many corners when cooking chicken, because I figured, if it was casserole-bound anyway, nobody could really tell the difference as to how I cooked it, right?

Um…wrong. Unfortunately for me, you really can tell the difference, and how your chicken is cooked may be what takes your dish from “Meh…” to “Yum!” I finally admitted to myself that sometimes, you only get out what you put in, and gave my chicken-cooking process an overhaul. Here’s how I do it:

First, the smarter, economical, and more flavorful way to do this would be to use a whole chicken. However, there’s only so much extra effort I am willing to expend in life, and picking apart a cooked chicken carcass is not high on my fun list. Instead, I use four or five frozen chicken breasts, depending on their size, and the proportions of the remaining ingredients are based on that amount of chicken. If you were to use a whole chicken, double the remaining ingredients to accommodate for the size and water you’ll need.

Here’s the players:

I use two or three stalks of celery, one medium/large yellow onion, one lemon, several sprigs of fresh thyme (or a teaspoon of the dried stuff), peppercorns, kosher salt, and of course, the chicken. I start by tossing the chicken in a large pot:

Then I chop the celery into thirds:

Peel and quarter the onion:

And slice the lemon:

I toss all of that into the pot with the chicken, and then I add the thyme, about one or two tablespoons of kosher salt, and a heaping tablespoon of the peppercorns:

That’s some accurate measuring, right there. Next, I fill the pot with water until the chicken is covered by about an inch or two of water:

Yep, that four whole minutes of prep time was arduous, now wasn’t it? Finally, I slap on the lid and bring the chicken to a boil over high heat. As soon as it starts to boil, I reduce the heat to medium and let it simmer at a low boil for about 30 to 45 minutes, or until the chicken is cooked through. When the chicken is done, I remove it from the pot and chop/shred it to my desired size:

Once my chicken is dealt with, I strain the cooking liquid though a fine mesh strainer, and TA-DA:

Homemade chicken stock! This will keep in the refrigerator for a day or two, and in this case, I used it (instead of water) to cook the noodles for my King Ranch Mac and Cheese.

Now, I’m sure a Food Network star would throw even more crap in the pot for flavor, but budget-wise, this method is a compromise between my desire for all things tasty and my depressingly meager wallet. Since all these ingredients are items I usually keep on hand anyway, I’m also never out too much effort either. If I happen to have fresh parsley, I also toss it in, but I wouldn’t go buying it just for this.

So, there ya have it. Next time your casserole, pizza, or other dish calls for “cooked chicken,” give this method a try and see if it helps. If you already knew this, more power to you, sister. We all know my learning curve is longer than the average bear’s.

A Change of Scenery

The temperature around here finally dropped from “hotter than Hades” to “moderately tolerable.” This break in the punishing heat came not a moment too soon. After a stressful week, everyone needed a change of scenery, even if we were just playing tourist in some familiar places.

We took an impromptu trip to our old college town, and landed smack in the middle of the Meat Pie Festival. We ate, we danced, and we enjoyed some well-deserved time out of the house.

We also gave the Heathens a tour of our old stomping ground, but all they cared about was the prospect of funnel cake.

Go figure.

Curry Chicken Pot Pie—Budget Friendly and Husband Approved

I’ve been trying to stretch my food budget, and needless to say, it’s a challenge. Have you seen the price of beef lately?!? I think we all agree that, when it comes to groceries, we are paying more but getting less. Historically, I’ve turned to casseroles to stretch my proteins into more portions, but my picky eaters usually eye them with suspicion. They feel casseroles are a conspiracy to get more vegetables into them. They are right. Kind of hard pick your dinner apart when it’s all mixed together, now isn’t it? Mwa-ha-ha-ha!

Though I like chicken pot pie, my husband has been fairly ambivalent; he’ll eat it, but don’t expect him to do cartwheels about it. In an effort to entice him, I found a recipe for a Curry Chicken Pot Pie (which sounded right up his alley), but it didn’t turn out well at all. After experimenting and tinkering, I finally produced a chicken pot pie that my husband actually loved. The curry gives it a wonderful depth of flavor, and just a hint of spice. The Heathens ate it too, and spared me the Oscar-worthy dinner theatrics, so I’ll call that a victory.

Here’s how I did it:

Curry Chicken Pot Pie

Notes

Ingredients
  • 1 (16-oz) bag frozen vegetable mix (peas and carrots)
  • 2 tablespoons vegetable oil
  • 8 tablespoons butter, divided
  • 1 cup chopped celery
  • 1 cup chopped onion
  • 3 cups chicken stock
  • 1 cup half-and-half, or milk
  • 6 tablespoons flour
  • 2 teaspoons curry powder
  • 2 tablespoons dried parsley
  • 1-1/2 teaspoons salt
  • ¾ teaspoon fresh ground pepper
  • 2 cups cubed cooked chicken
  • Enough pie dough to cover a 9x13 casserole dish (I make mine using Julia Child's recipe from Baking with Julia)
Preparation
Preheat oven to 400 degrees. Toss the frozen vegetable mix with the vegetable oil, and spread it evenly onto a sheet pan. Bake 15-20 minutes until it looks like the vegetables are just starting to brown. I know what you're thinking. Why do this instead of just tossing the frozen vegetables right into the sauce? Well, this step draws out a lot of the water from the vegetables, so they won't be a mushy mess later, and roasting them improves their flavor. Basically, this step ensures that your inexpensive frozen veggies develop flavor and texture. Just trust me on this one, okay?
While the veggies are cooking, heat 2 tablespoons of butter in a large skillet over medium heat. Add the celery and onions, and sauté them until tender, about 5 minutes. Meanwhile, in a small saucepan, heat the chicken stock and half-and-half. To the celery mixture, add 4 more tablespoons of butter and stir it around until it melts. Whisk in the flour and curry powder, and cook 1 to 2 minutes. Whisk the hot stock/milk mixture into the celery mixture, and cook until thickened. Add the parsley, salt, and pepper. Add the browned vegetables and chicken and stir. At this point, taste the sauce and adjust your seasonings if necessary. Pour the chicken mixture into a lightly greased 9x13 casserole. Roll out your pie dough on a floured work surface and top the casserole, pressing the dough into the sides to seal. Make sure you cut a couple of small holes in the top to vent the steam…that is, unless you prefer cleaning exploded pot pie out of your oven.
Melt the remaining 2 tablespoons of butter and brush it over the pie dough. Bake the casserole at 400 degrees for 40 to 50 minutes, or until your crust is cooked and browned to your satisfaction.
Tried this recipe?Let us know how it was!

________________________________

Now, if I could just figure out how to get him to eat squash, I may be in line for the Nobel Prize.

At Least There Were Snacks…

We watched first Saints’ game of the season, and the boys figured we’d better get Bean used to the routine while she’s still young and impressionable.

After all, her nickname is Drew Brees. For the first three months of her life, she HAD to be swaddled like a burrito to sleep, but as soon as we freed her upon waking, she’d throw her arms straight up, like she was calling a touchdown.

I am blessed with guys that are fairly ambivalent to sports on TV, but Saints’ games are the one exception. If at all possible, they will be watching. Bean was confused by all the commotion, and the yelling, heckling, and (I confess) swearing.

And as you can see, she was unimpressed by that interception. Better luck next week, I guess.

Break Out Your Blender and Thank Me Later

My husband loves me…like big time. He made me a “big girl” milkshake this weekend, and it was to die for. I drank mine and record time, then gave him the puppy-dog eyes until he surrendered his too. I will probably need to run 567 miles to compensate, but let me tell ya, this drink will cure any bad day, guaranteed.

Grown-Up Milkshake

Total Time 5 minutes

Notes

Ingredients
  • 1 pint good-quality vanilla ice cream
  • 3 cups ice cubes
  • 1/3 cup vodka (don't try to skimp by using the cheap hooch…that is, unless you like the taste of paint thinner)
  • 1/3 cup Kahlua
  • 1/3 cup almond liqueur (or other nutty liqueur of your choice)
Preparation
Throw the whole mess into a blender and give it a whirl at high speed for a couple of minutes. Enjoy your newfound status as everyone's BFF.
Tried this recipe?Let us know how it was!

Magic Mom Eye

I just got back from an unexpected trip to Mississippi, and after an extended car ride with Bean, I needed a nap and a drink…and maybe some chocolate.

Though my trip was last-minute, I wasn’t too concerned about leaving during the school week, because my husband is always on top of things when it comes to the kids. Half the time, they don’t even realize I’m gone, because Dad gets everything done while also spoiling them rotten.

Even though I wasn’t worried, I still wondered what condition I would find the house in when I returned. Given that I left in the middle of a busy work/school week, I knew that dinner and homework would keep the guys busy enough. I was pleasantly surprised to find the dishes done, clutter put away, beds made, and overall, a relatively clean house.

But, unfortunately for my kids, my “magic mom eye” sees all and knows all. When they got home from school, I asked them, “Did Dad let you eat dinner in the living room?” To which they replied, “How did you KNOW?”

Then I asked, “Was someone eating icing cookies at the computer instead of the table?” G-Man’s sheepish, guilty grin confirmed what I already knew. The Heathens were amazed that I knew their secrets, and I reminded them that my “magic mom eye” is better than Sherlock Holmes or Gil Grissom. They can’t fool me.

In case you were wondering, I’ll be spending my morning cleaning greasy fingerprints off the coffee table and vacuuming smeared icing crumbs off the floor and office chair. The difference between clean and “Mom Clean” is always a dead giveaway.