I’ve been MIA for a month of Sundays because the Spring and Summer semesters kicked my proverbial booty. My studies at BU’s Gastronomy program are rigorous, and I really felt drained for a good bit of the time. However, I took the back half of summer off to rest and recharge before classes resume in September. While I do have this respite, I wanted get back to my site and share some of my favorite cookbook purchases this year, as well as a few I’m looking forward to in the Fall.
First up is You Got This! by Diane Morrisey

I was unfamiliar with this author and flipped through the text at the bookstore for about 5 minutes before I purchased a copy. This book has a ton of approachable, family-friendly recipes that are both weeknight and weekend friendly and I marked at least 20 that I wanted to try. So far, I have loved the Sausage Rigatoni, Chicken Divan, and Potato Galette. Don’t get me wrong, as a culinary student, I can project cook if needed, but this book is more realistic toward how I cook for my family on the regular. When you are responsible for the never-ending meal planning and cooking for a diverse household, not every meal can be a full-on chef-level production. I would quit this circus without realistic inspiration to get me through those Tuesday nights of existential despair. I plan on gifting a copy to my sister because I think she will love it as well.
Next is an older book I stumbled across, Recipe Revival by the editors of Southern Living.

I really enjoyed this retrospective and the updated ways in which they have been refreshed for modern cooks. I also found a ton of recipes in this book that I want to make, and as with the previous text, they are very accessible for home cooks like me who are tasked with the never-ending cycle of meal planning and cooking. Plenty of weeknight and party fare, with menus for inspiration. I picked this up at the secondhand book shop on the cheap and am very glad I did.
The two social media cookbook darlings of the Spring publishing season were By Heart by Hailey Catalano, and The Wishbone Kitchen Cookbook by Merideth Hayden.


I purchased both and found several recipes I enjoyed, such as the meatballs in By Heart, and the Shake and Bake Chicken with Hot Honey Tomatoes, and the Balsamic Short Ribes in Wishbone. I think both texts have a mix of accessible and delicious recipes, but they also contain some more fussy options that have a series of elements that push them to weekend/date night cooking for me. However, as I admitted, my time and attention has been taxed with writing and cooking for classes, so I think my perspective is more about my current life season than the recipes themselves. I would flip through both because people in my social media feed are loving these books.
As for cookbooks I am looking forward to during the Fall publishing season, my first pic is My Southern Kitchen by Ivy Odom.

Ivy is a Southern Living contributor, test kitchen participant, and is pretty much their main social media content creator. Based on recipes I’ve seen (and cooked) from her articles and videos, I feel like this one is going to be good. Her style of cooking definitely aligns with mine. As soon as I heard she was publishing, I pre-ordered.
Next is Let’s Party by Dan Pelosi.

I enjoyed Dan’s first book, and as a now writer for NYT Food, he’s been putting out some great recipes consistently. I love collecting books about entertaining/gatherings, so even if I was not familiar with his content, I probably would have picked this one up anyway. We host a huge Sunday gathering monthly for friends (think 25-30), so I am always looking for fresh, festive ideas. I think this one has potential, and his energy is infectious.
Finally, I am looking forward to Good Things by Samin Nosrat.
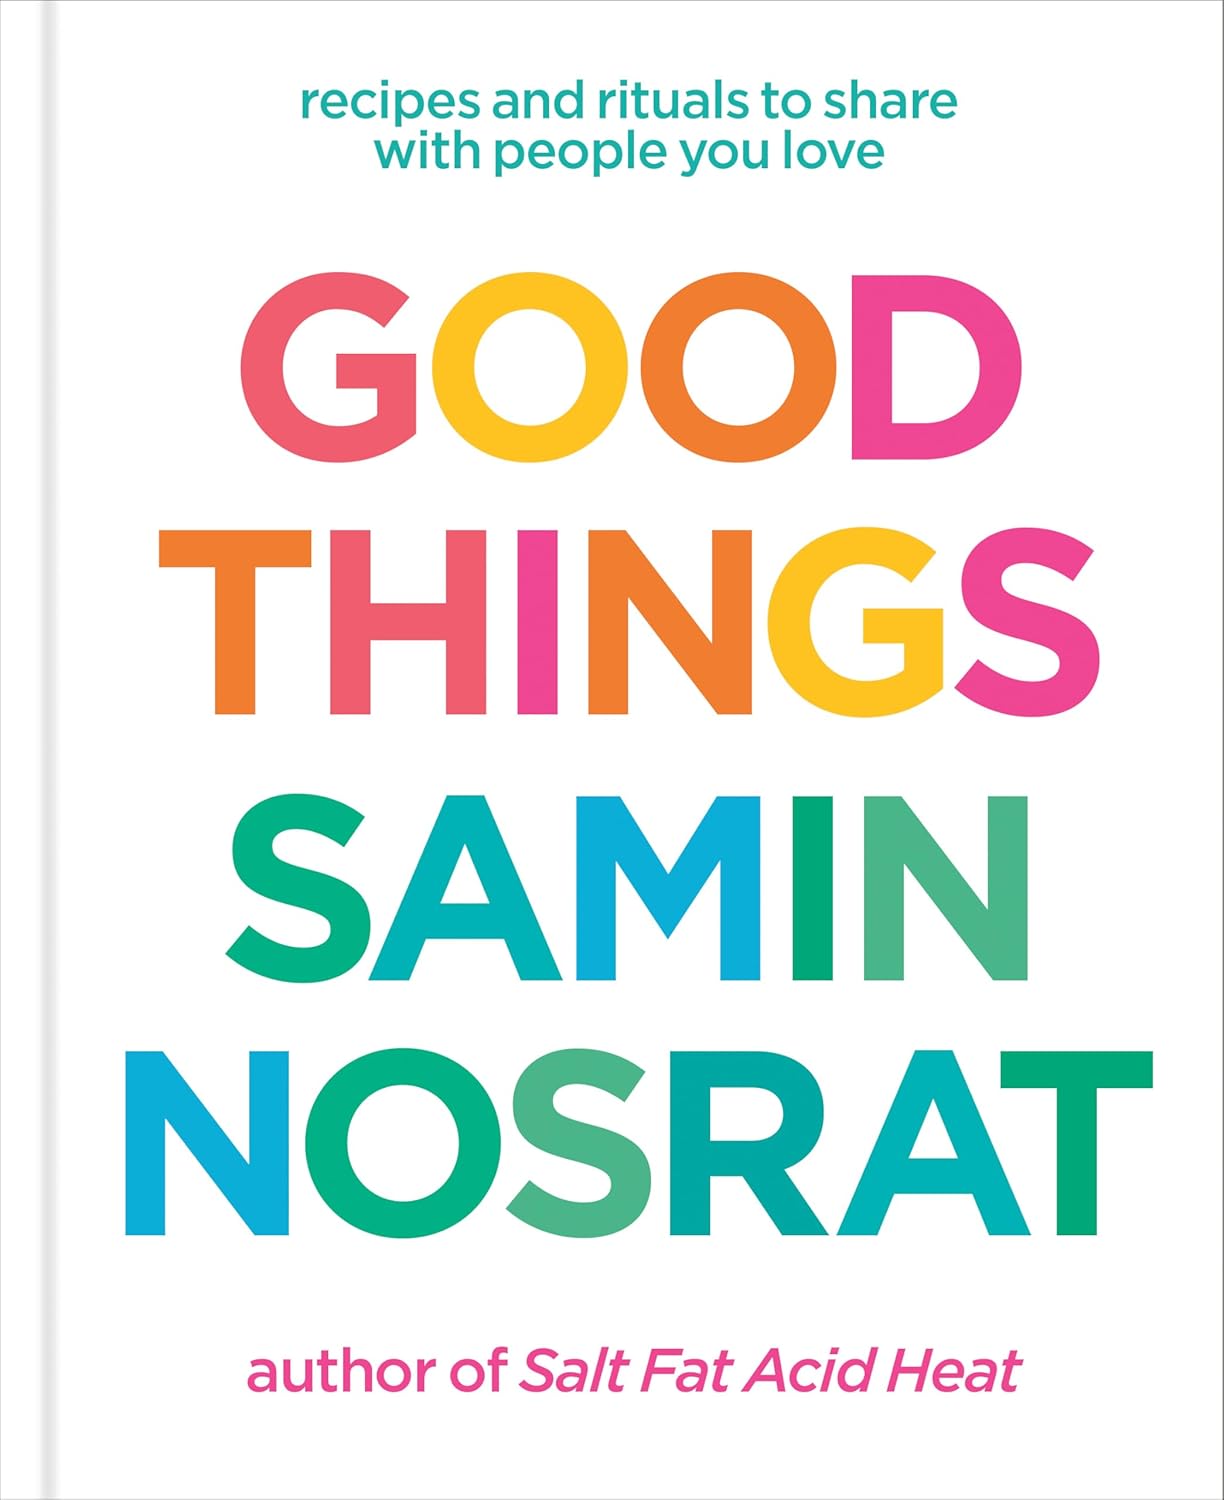
Both Samin’s first book and her Netflix series were required reading/viewing in a couple of my courses in the past year. Her experience, encompassing knowledge, and commitment to rigorous recipe testing have made me a huge fan. This text description has me wanting to try everything listed, and I believe this will be a bestseller within the first week of publishing. Again, preordered because I am that excited.
So that’s what I’ve been noodling over as I come up with new areas to stack cookbooks. But that’s a problem for another day, because my library is my pride and joy, and Fall is prime time for new texts. If you have an upcoming book that you are eyeballing, or a cautionary tale about an absolute dud in your library, let me know. I want to try as many new recipes as I can before I am back to the scholastic grind for my final year.
**As always, my blog is not monetized in any way and the links posted are NOT affiliates, they are simply for your convenience. If you see any ads on my site, they come from WordPress, not me. Any reviews/opinions you see are of products I purchased with my own money. I’m just a busy mom/student and not that cool.**